

As you might’ve gathered by now, I have Celiac which means I’m one of those gluten free people, and not by choice. I also have food allergies, especially to egg and soy, which are key when substituting for wheat. This has forced me to get creative with cooking, and I’ve managed to conquer some pretty big milestones. I make my own pumpkin pie (custard powder!) and last year I finally made really good pizza from scratch.
But one category of recipes has long eluded me: breads made with yeast. They never rose for me and I couldn’t figure out why.
Recently I had reason to try again, and I thought “I should see what the aquafaba group knows about this.” See, there’s this magic ingredient that was discovered a few years ago. Aquafaba is the liquid your tinned chickpeas and other beans are stored in. If you’ve ever shaken that tin you’ll know that it gets frothy quickly. Turns out if you whip aquafaba it becomes downright foamy and works as an egg substitute! This has been revolutionary for my baking. So I searched the aquafaba Facebook group (Vegan Meringue hits & misses on Facebook – they talk about way more than just aquafaba meringue, but it must be vegan).
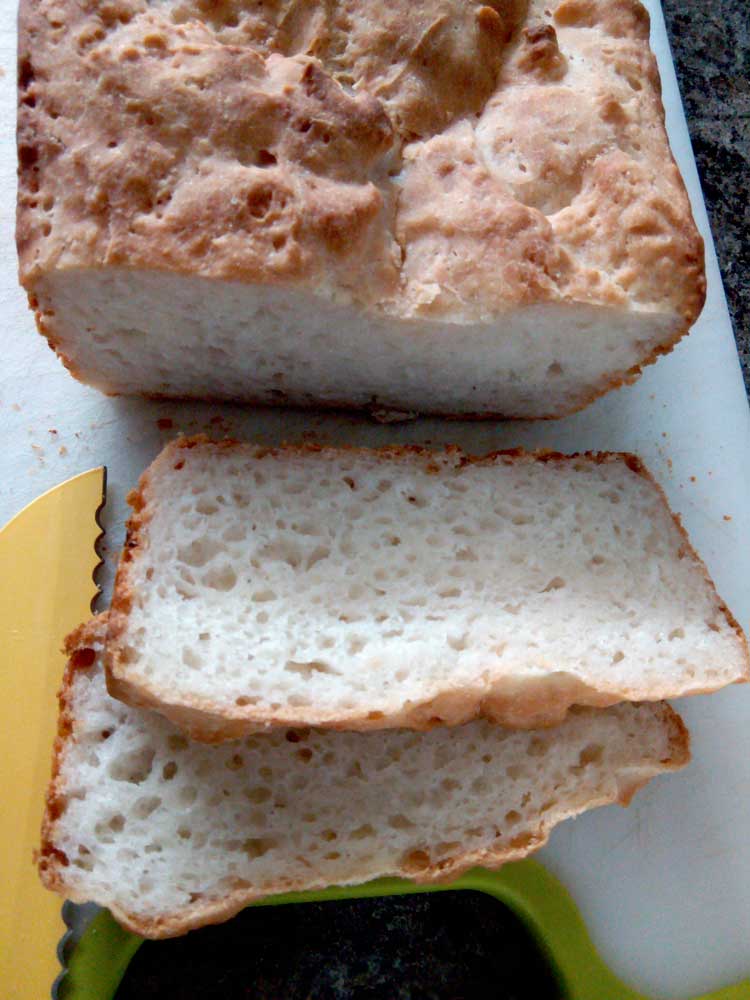
A brilliant person named Rebecca Gourley shared her method for making rolls and what do you know, IT WORKS. My bread RISES now! It bakes up exquisitely with a hard crust and fluffy interior. VICTORY!
I’m still playing with the variables, but here’s the gist, adaptable to your recipe of choice:
Method
Gather the aquafaba needed for for your recipe. Add cream of tartar. (I add half a teaspoon to 1/3 cup of liquid.) Whip until foamy and no liquid remains.
Gently add warm/hot (but not too hot!!) water to the aquafaba. Add sugar. Add yeast, and mix to combine. Let yeasty water sit for 5-10 minutes to proof.
When yeast has proofed, add everything but the flours and mix gently, just to combine.
Now, add the flours a bit at a time (1/2 cup suggested), mixing to combine each time. Again, don’t whip or beat it. As it thickens up, fold the dry flour in.
From here I followed my box’s recipe (I use Glutagon bread mixes), which said to put the dough in the baking pan and put it in a windless place for 25 minutes. I place the tin and a small bit of boiled water in a cup in the microwave and close it, because it traps the warmth and moisture well. Bread should rise, roughly doubling in size and/or reaching the top of the pan.
After that, bake as usual. Allow to cool before cutting.
Voila!
This method had totally revolutionized my baking and I hope it helps someone else as well!
What is the actual recipe? Ingredients and amounts not listed. Thanks!
Hi Jenna, this method can be adapted to a recipe you already have. I use Glutagon bread mix, which calls for liquids and yeast to be added. I use the method above on the called-for ingredients.