

For years I’ve searched for the perfect planner. I gave up on pre-printed, bound planners because they didn’t fit my needs. I like bullet journals, but keeping them going is a lot of work. I’m too impatient to redraw a new layout every week. I’ve tried the adjustable rings like the Happy Planner, but I think I’m too rough on my pages. So I finally gave in and indulged in something I’ve wanted for a long time: a small binder-style planner.
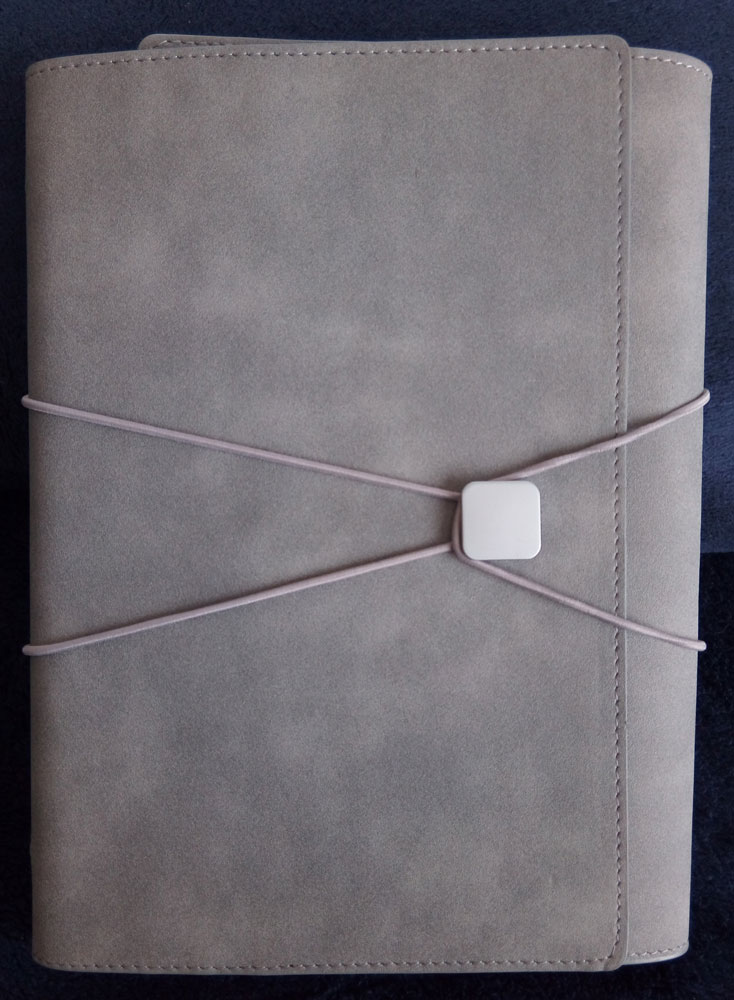

There a few reasons this is working for me right now. First off is size. Now that I’m not in the USA, home of everything-is-measured-differently-cuz-we-can, I now use A4 size paper (very similar to letter size). A5 is half of an A4 sheet. And A5 binders are pretty common on sites like AliExpress, where I found mine.
A5 being exactly half makes it easy for me to design layouts in InDesign and print them, then cut them in half and hole punch.
Here’s an example of my monthly and weekly layouts. I also pinched the monthly review questions from the Passion Planner (they’re available online for free, and I wrote about them here).


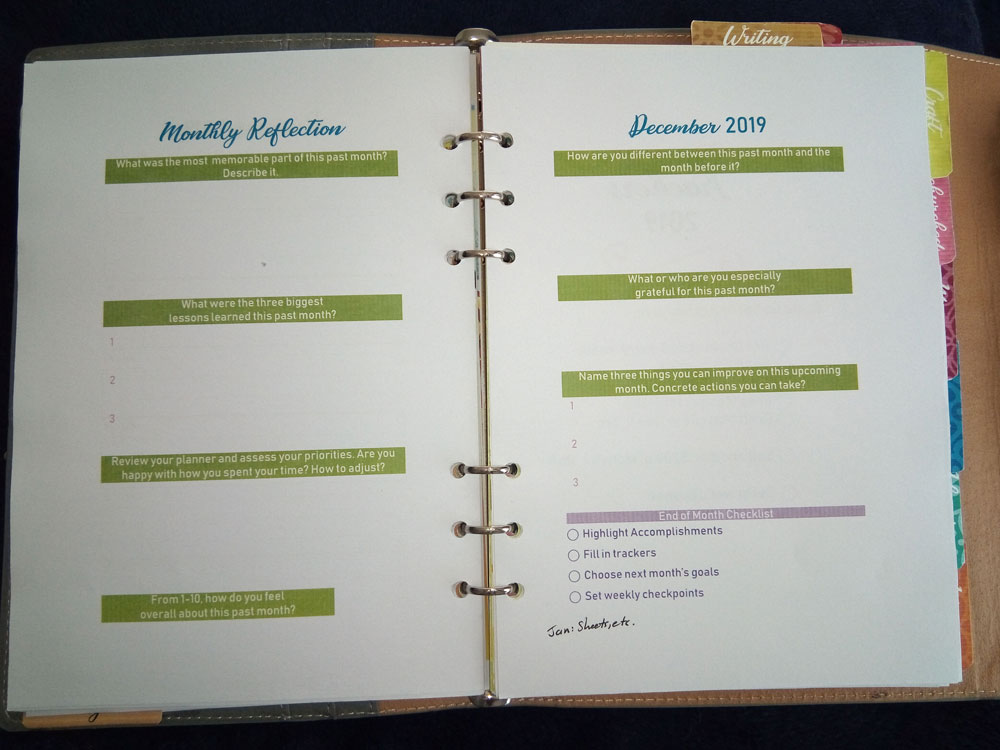
If you’ve seen my previous posts about my bullet journal, you’ll see I kept the weekly spreads the same–dates on the left, weekly to-do list on the right.
I’m not gonna lie, making these layouts in InDesign was NOT the easier thing in the world. It was a pain at times. And I’m not making the best use of space as it stands. But it’ll improve over time.
So that’s the calendar portion, all pre-laid out and ready for me to fill in.
What really excites me, though? The free-form notes sections.
I printed divider tabs on card stock (one divider per letter/A4 page so it’s bigger than a half-size page) and they are so damn handy. I can flip to any topic in a moment. Tabs along the top are for major sections like Calendar, Writing, and Work. Right-hand tabs are sub-categories like each writing project.

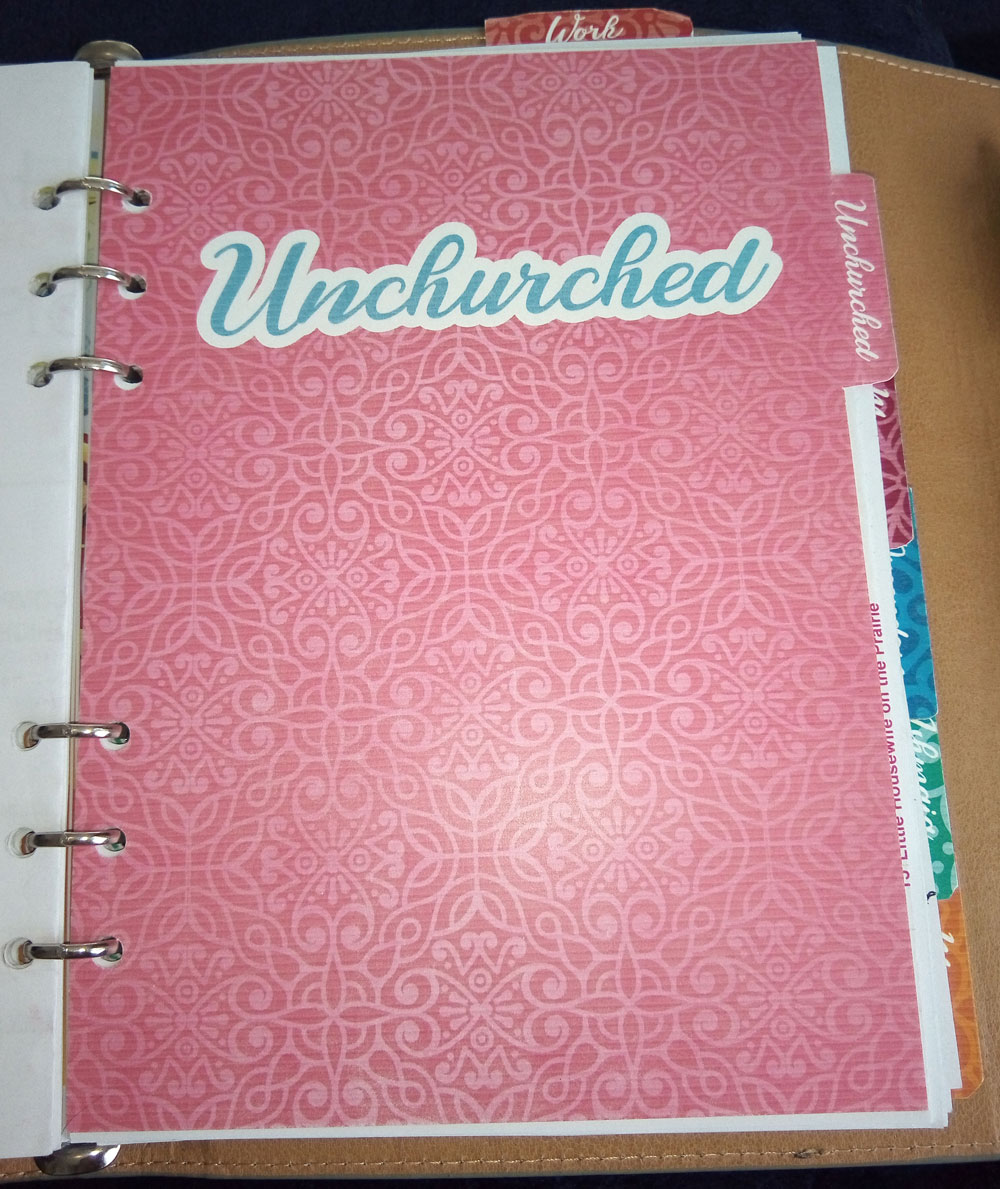

This also wasn’t easy, partially because I didn’t use exact measurements to ensure the backs of my dividers would line up exactly, but they turned out pretty nicely despite the flubs.
I also printed out a bunch of pages with very pale dots (I prefer dots to lines or grids) and keep a stack of these blanks on hand to add in as needed. Even better? Anything else I want to print can be folded, hole-punched, and added. I’ve done this several times with outlines-in-progress or to keep an official list of chapter titles to hand.
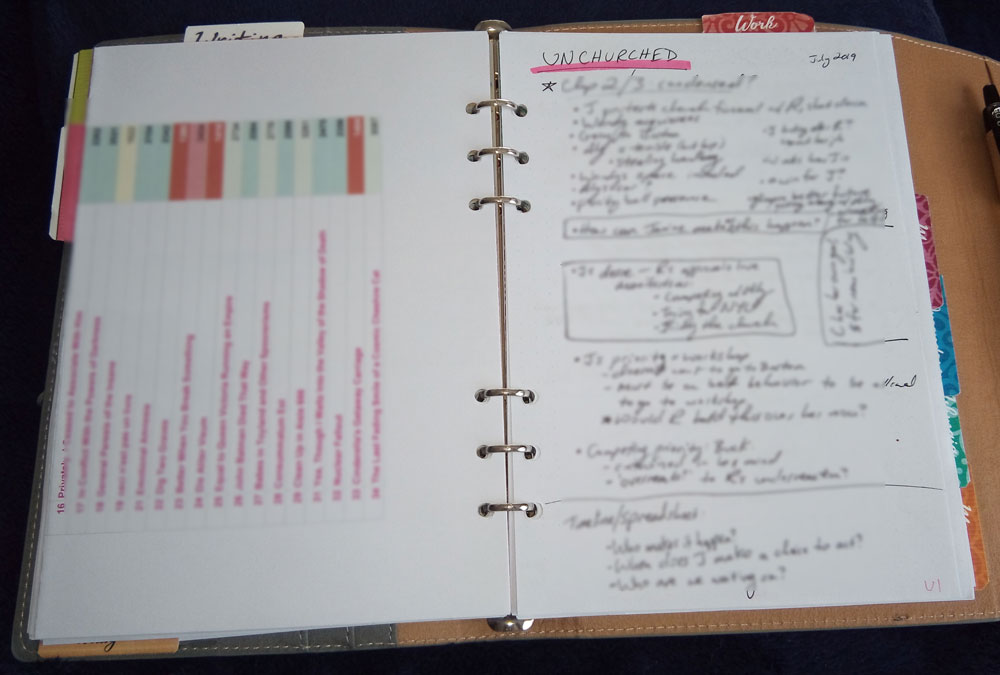
In the image above, I have a printed list of chapters on the left and free-form notes on the right. I realized I needed the free-form space because I was making notes by grabbing random bits of scrap paper and scrawling all over them. This allows me to keep my scrawlings in one place.
Overall, I’m really pleased with how this turned out and it’s working nicely. I’m going to be ruthless about removing pages I no longer need (ie., the used weeks and months) and storing them for a while in a larger binder until I’m sure I never need them again. I’ll probably also scan in free-from project notes that I really want to keep.
I really hope this is the last major change I’ll have to make in my planning practices but I doubt it’ll be so simple.