

A while back I got a comment wishing for a reusable Monster Worksheet, the primary tool for my Monster Novel Structure Workbook. I love this idea, so I researched the options.
My first thought was to see what custom-printed white boards would cost. Turns out they’re both hideously expensive and hard to find. That doesn’t stop you from, say, using washi tape to mark out the 21 sections of the worksheet but it’s not really ideal.
Then I remembered that glass functions just like a white board–you can use the same markers and everything. Which means you can use a glass-fronted picture frame to hold the worksheet and still write on it!
I went on a little quest to find such a frame, and ran into some trouble. I wanted something inexpensive but with a large surface area because white board markers are rarely fine-tipped. Cheap frames often use plastic instead of glass, and that flimsy plastic will not work. I mean, it’ll work for a little while, but the minute scratches will trap ink and you’ll never get it fully clean again. It has to be glass. And preferably fairly thick glass, since you’re probably going to put some pressure on it when you’re writing. If I had unlimited resources I would commission a custom frame and put a piece of really thick glass in it.
But this is a pandemic, and my resources are not limitless. So I had to get creative.
Anyway, after hunting around I found a really cheap frame we already had that would work for demonstration purposes. It’s 11″x14″, has very thin glass (again, cheap), but it does have this nice crossbar on the back to make it sturdier. It’s also at least a decade or two old, so I don’t know where you could get something similar. Apologies!
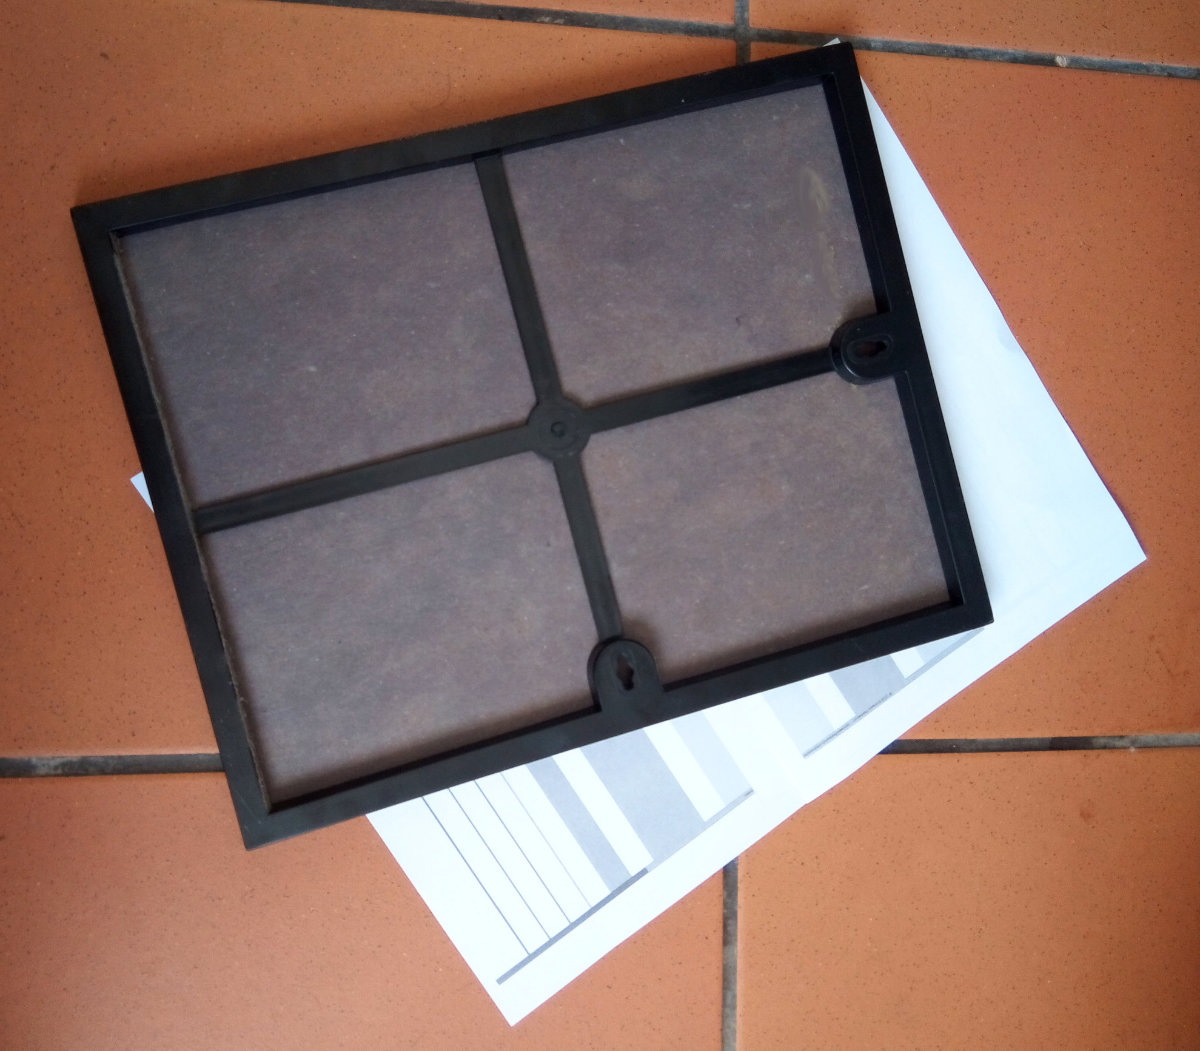
My next task was to print the worksheet so it would fit. If you need a custom-sized worksheet for printing, drop me an email. There’ll be a small service charge but I’m happy to help you out! Because I don’t have the capacity to print at 11x14in I had to break the chart across two overlapping A4s. (I also had to print in grayscale because my printer was messing me around.)
Once printed I cut the pages down and taped them together, and aligned the combined worksheet in the frame.
Voila! It works!

As you can see in the picture, my markers aren’t as fine-tipped as I’d like for a sheet this size but it does get the job done for big-picture elements. Not all colors worked equally well, which is a symptom of them being cheap markers more than anything else.
And look, it erases beautifully!
Would I use this myself? Totally, although I’d like it to be bigger and sturdier, and my markers finer. And to get it printed on a poster-size sheet of paper. And, and, and. Maybe one day!
In the meantime, I hope this has sparked some ideas for how you can make something similar to suit your needs.
And if you know where to custom white board printing that doesn’t cost a small fortune, let me know!
I look forward to the tools you provide.